What a tune-up covers
Every visit runs the same order.
1. Visual check of springs, cables and drums
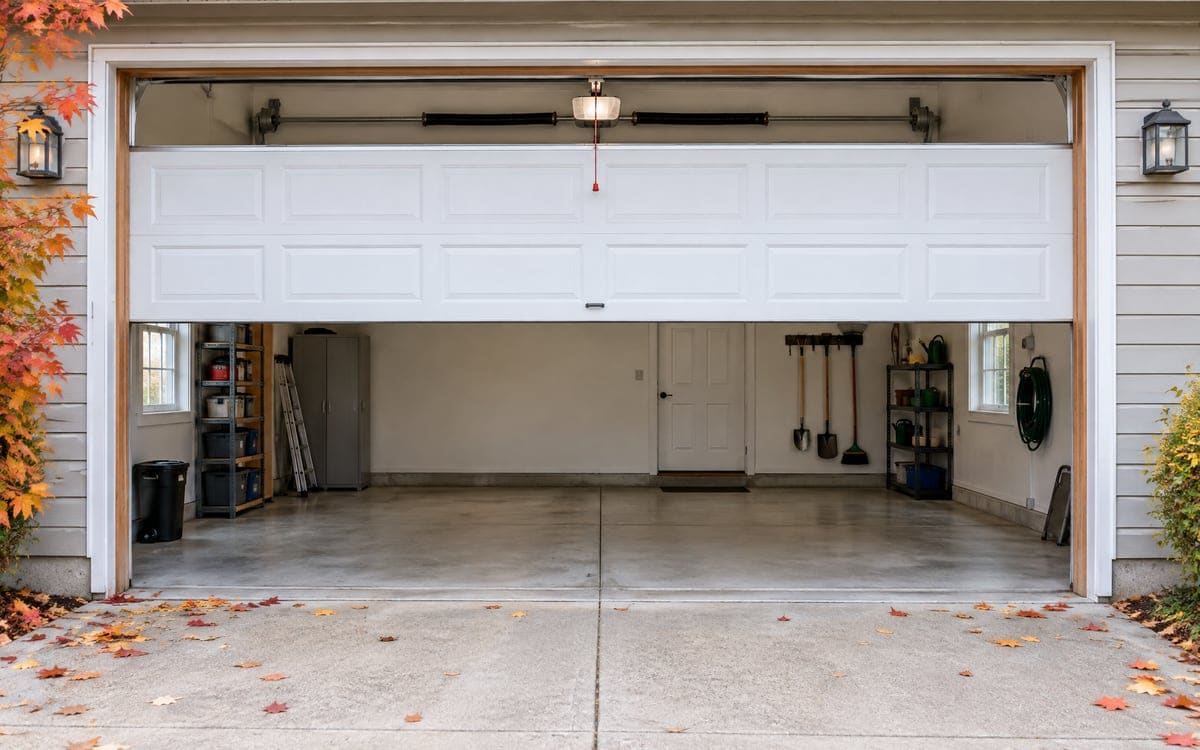
We unplug the opener and leave the door closed. On a torsion setup we look for a gap in the coil, rust on the winding cones, and wobble at the center bearing. On extension springs we check that the safety cables are still threaded through. At each drum we look for a lift cable wound tight in its grooves with no broken strands. A frayed strand at the drum points to corrosion, a rubbing sleeve, or a drum slipped out of true, and it needs cable replacement before the strand parts.
2. Balance test
With the emergency release pulled, we lift the door by hand and let go at about waist height. In balance, it stays put. A door that drops has springs on the way out. A door that shoots up has too much tension for its weight. A gentle drop often means a worn spring found early, before the coil parts and the door slams to the floor.
3. Rollers and hinges
Every wheel gets a spin and a look. A nylon roller flat-spots when its bearing seizes and the wheel skids in the track instead of turning. Steel bearings lose their grease and grind, or corrode until the wheel wobbles. Hinges pull loose and stretch their screw holes, throwing the wheels out of line. When most of the set has aged together, the right call is a full roller replacement.
4. Tracks, fasteners and lubrication
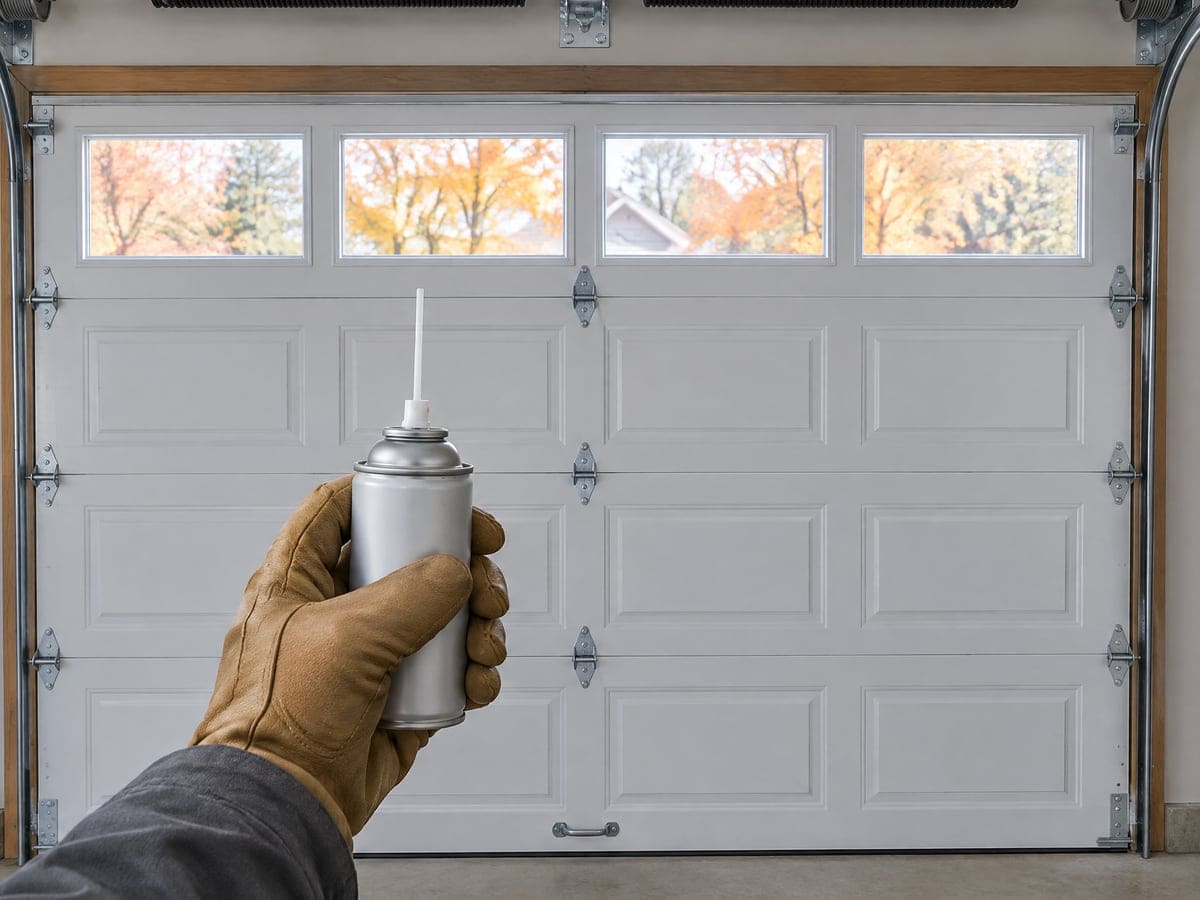
We walk both tracks from floor to horizontal bend, checking every bolt and lag; vibration works fasteners loose, and a loose track shifts under load. We look for dents in the vertical, wear at the curve, and gaps where a track has walked away from its bracket. Lubrication is a separate step on the same visit, and not everywhere: the right places are the roller stems, hinge pivots, spring-shaft end bearings, and the spring coils. Tracks stay dry, because grease on a track collects dust and gums up the wheels. On a noisy door this step often does most of the work of quieting a loud door.
5. Weatherstripping and the bottom seal
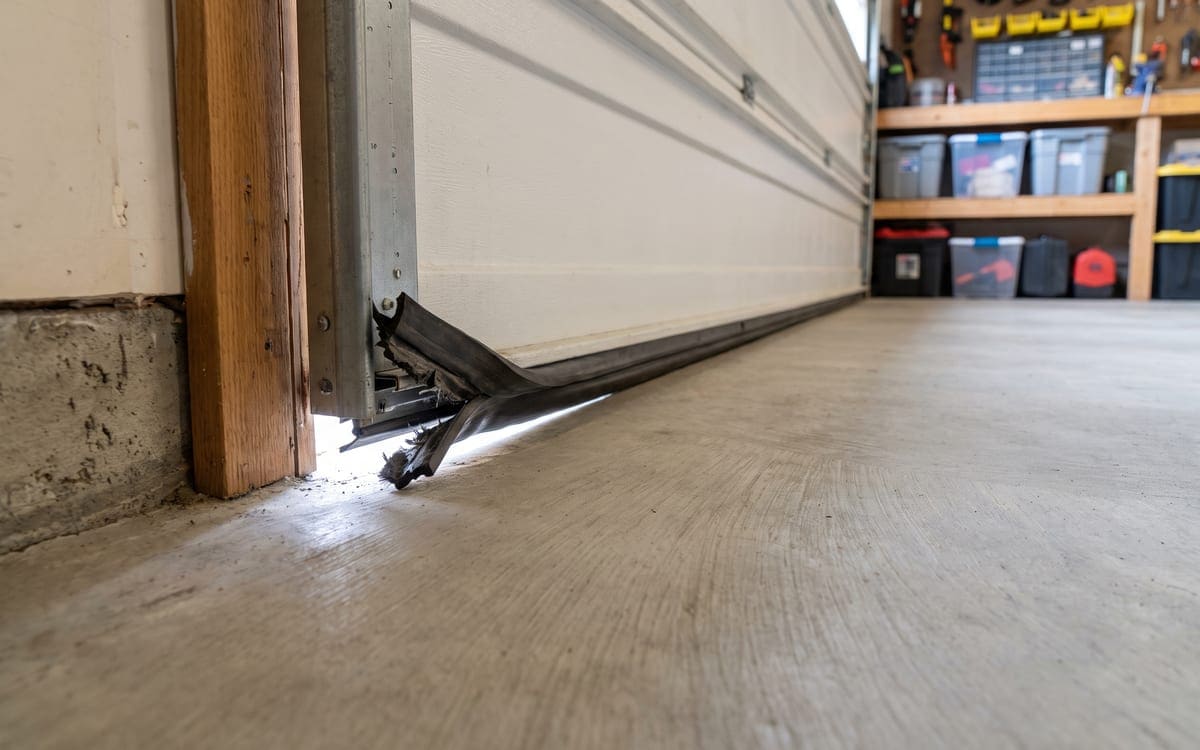
The bottom gasket and perimeter seal keep water and salt slush out of the bottom panel, which is where rot starts. We look for tears, gaps and hardened corners that no longer squish flat. If a seal is done, we swap it on the visit.
6. Opener travel and force
Travel limits set how far the door runs before stopping; force settings set how much muscle the opener uses before deciding something is wrong. Both drift. A short travel limit leaves a gap at the floor; a high force setting defeats the safety system. We check both, and test the disconnect so the door can still be lifted by hand in a power failure. If the settings will not hold, that is where opener adjustments begin.
7. Sensor and reversal test
The reversal test uses a two-by-four set across the door's path, then closes the door onto it. On contact with the wood, the door should reverse on its own. The sensor test blocks the beam between the photo eyes while the door is closing; a working opener refuses to close and blinks a warning. Both readings tell the technician whether the opener's travel, force and sensors are still set the way they need to be.
What a tune-up finds
| What we look at | What a problem looks like | What it usually needs |
|---|---|---|
| Spring | Gap in the coil, slack cables, door heavy by hand | Replacement as a matched pair |
| Lift cable and drum | Frayed strand, cable off a wrap | New cables, spring adjustment |
| Rollers and hinges | Flat spot, cracked wheel, stretched screw holes | New set and any worn hinges |
| Track and fasteners | Loose bolts, bent vertical track, gap at a bracket | Tighten, align, replace bent sections |
| Bottom seal and weatherstripping | Torn gasket, hardened corners, daylight at the frame | New seal, rot check on the bottom panel |
| Opener travel, force and sensors | Gap at the floor, reverses at closed, eyes fail the blocked-beam test | Rebalance, reset limits, realign or replace the eyes |
| Reversal test | Door does not reverse on a two-by-four | Fix the opener first, and no use until it passes |
Homeowner checks between visits
Between visits, three checks sit within what a homeowner should do. First, a visual look at the springs, cables and rollers from a few feet back: no cracks in the coils, no frayed strands at the bottom corners, no wheels wobbling. Second, the reversal test with a two-by-four laid flat on the slab while the door closes. Third, the sensor test, blocking the beam at the photo eyes while the door is on its way down. The monthly safety test walks through each one.
The balance check belongs to us. Pulling the emergency release on a door with a worn or broken spring drops the panels, so we save that step for the technician on the visit.
Tune-up or repair
When a tune-up is enough
- Nothing was broken. The door needed lubrication, alignment and a limit reset.
- One small part is done (a bottom seal, a set of hinges) and can be swapped on the visit.
- The door is sound and the opener passes both safety tests.
When the tune-up turns into a repair
- The balance test shows a spring at the end of its life, which is a job to schedule as spring work. Winter and garage door springs covers the spring side.
- The rollers have all aged together, and the door will not stay quiet without a full set.
- The photo eyes will not stay aligned, or the opener will not hold its travel limits.
Anything found at the tune-up is a separate decision for the owner, not an automatic add-on.