Why a monthly test matters for an Arlington Heights garage door
Most doors warn you before they fail, and the warning is small. A spring gets tired and the opener works harder. A sensor drifts a hair out of alignment and stops seeing the beam. The reverse switch takes an extra half second to trip. You hit the button and walk away, so daily use catches none of it.
The monthly test makes you stand and watch the door move, and try one thing on purpose that a door in service is not supposed to do. In a few minutes you find the doors that are heading for trouble.
What a modern opener is built to do
Modern residential openers reverse when the bottom edge meets an obstruction, and reverse again when a secondary protection device is triggered. On most openers you see today that secondary device is a photo beam across the opening; some models use a sensor built into the bottom of the door that reads contact instead. The steps that follow match the kind of test an opener's owner manual lists.
The village's median year built is 1974,1 and 21,073 of 33,005 housing units went up before 1980.2 An older opener is not automatically unsafe, and a newer one is not automatically safe. Both get tested the same way.
Step 1: look from the floor
Close the door and look at the door standing still. You are looking for parts that have started to go without asking for attention.
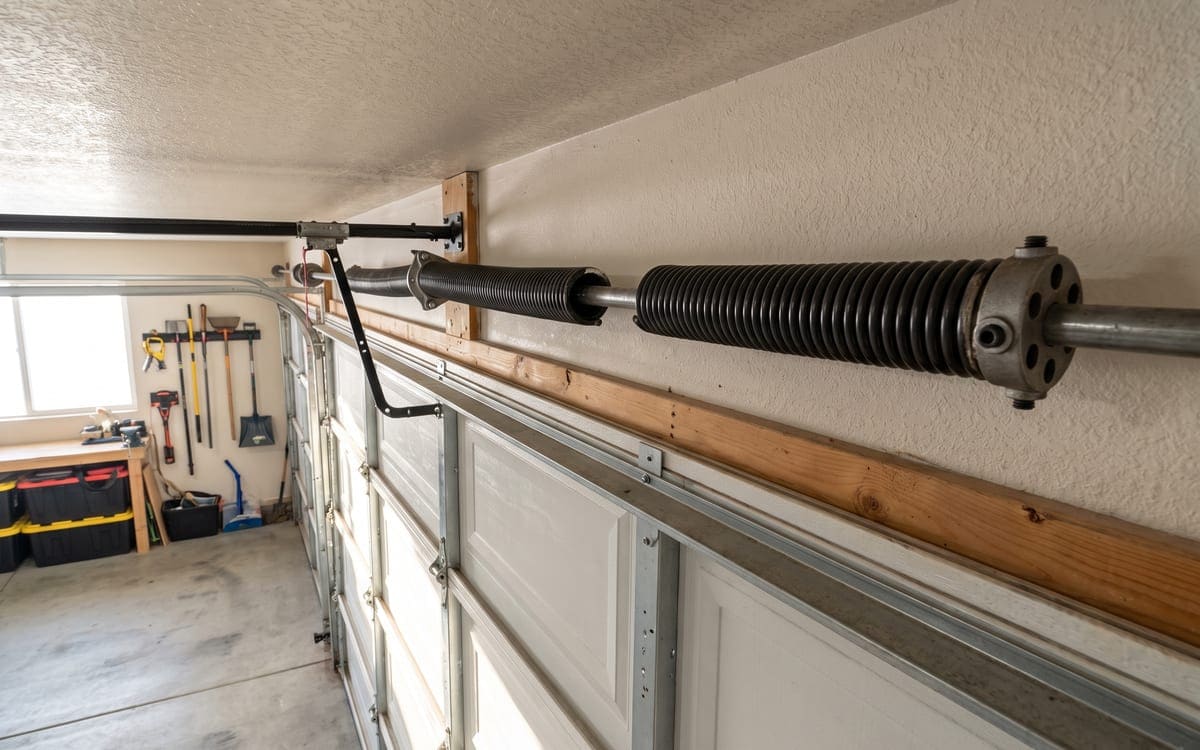
On the bar above the door, look at the torsion spring coil; on a door with springs along the side tracks, look at the extension springs. A healthy torsion spring is a tight, even helix; a gap of an inch or two means the spring has broken. A healthy extension spring stretches evenly, with a thin safety cable through its center.
At the top corners of the opening, look at the drums on the ends of the torsion bar. The cables should wind neatly around each drum. Follow each cable down to where it anchors into the bottom bracket at the corner of the door. The cable should show no fraying, no rust, and no loose strands standing out from the twist.
Along both sides, sight down each vertical track for dents or bends, and check the rollers: they should sit fully in the channel and should not be missing bearings or leaning against the track.
Any of these is a call for a technician. The springs and lift cables are loaded hardware and are not homeowner work; leave both to the technician. Do not run the door if you see them, and do not pull the release cord to move it by hand.
Step 2: the balance check is ours to do
Owners can run the visual check in step 1 and the sensor and board tests that follow without touching anything under tension. The balance check belongs on the visit itself.
The emergency release disconnects the door from the trolley the opener drives. On a sound door, that lets the door move by hand. On a door with a broken spring or a slack cable, the opener is the only thing holding the door up, and pulling the release lets it drop. An extension spring can fail without a visible gap, so a visual pass is not the same as a safe door. Lifting a heavy door by hand carries its own hazard on the way down.
What we do on a visit is read the balance for you. The technician works with the door closed, uses the right release technique for the door, and reads how it holds. If the door is unbalanced, the spring work is scheduled.
For a scheduled read, that is a professional safety inspection. It covers the balance, cables and drums, rollers and hinges, seals and the opener in one pass.
Step 3: the reversal test with a board
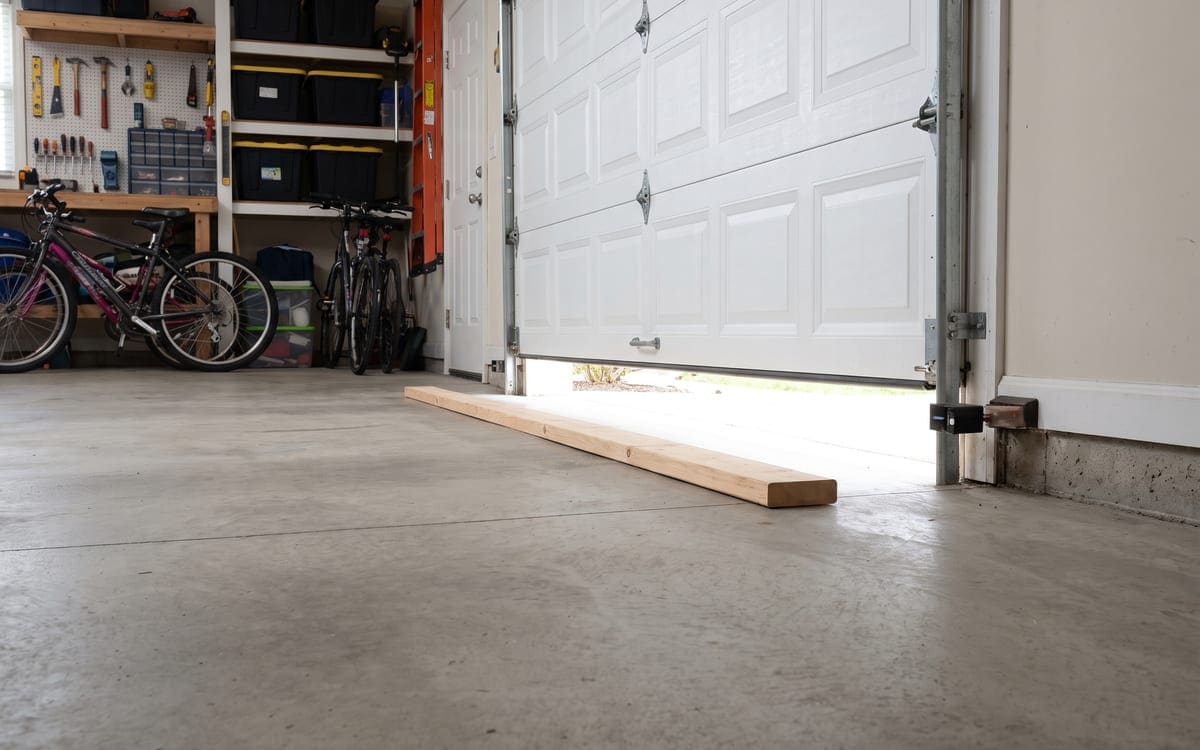
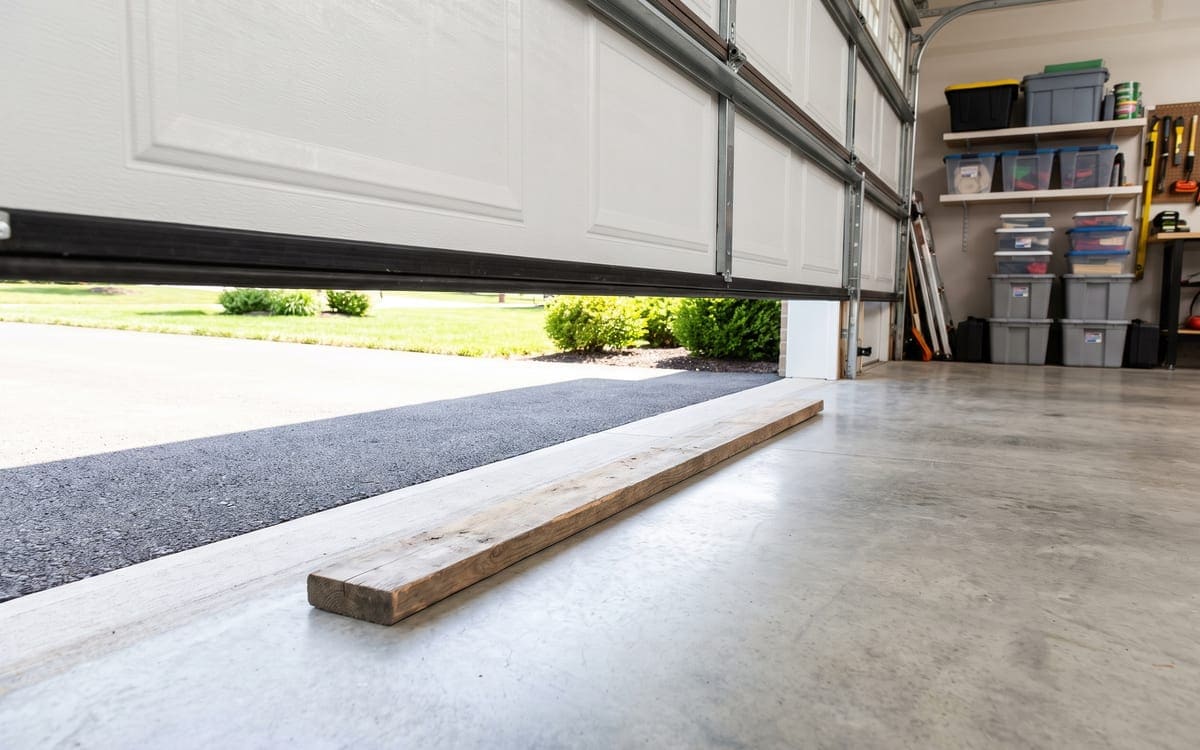
For this test you need a scrap of wood on the floor under the door. Opener manuals name a 1-1/2 inch high object, which is what you get from a two by four laid flat under the middle of the door.
With the opener plugged in and the door open, press the wall button to close the door. When the bottom edge meets the wood, the door should stop and reverse to fully open on its own. That is the entrapment protection a modern residential opener is built to provide.
If the door hesitates, keeps pressing down on the board, or reverses only a few inches and stops, the force setting is off or the reversing mechanism is failing. That is an opener that fails the test. Never adjust the force settings yourself to force a pass. The setting is there to protect a person under the door.
Step 4: the sensor test
The safety sensors are two small eyes down at the bottom of the door track, one on each side, aimed across the opening at ankle height. They watch for anything crossing the plane of the door and stop a closing door if the beam breaks.
With the door fully open, press the wall button to close it, then wave a broom handle through the beam between the two sensors as the door comes down. Do not use your foot or your hand: the whole point is to see whether the door will fail to stop. The door should stop and reverse the moment the beam is broken. If it keeps closing, check first that both sensors are lit and that neither has been bumped out of alignment by a bike or a leaf blower, then run the test again.
Any opener old enough that it never had safety sensors in the first place is not a candidate for repair. That is replacing an opener without sensors with a current model.
What a failed test means
A door can fail any one of the four steps for a different reason, and the fix is different for each.
| Test | What failed | Likely cause | What it usually needs |
|---|---|---|---|
| Look | Gap in the spring coil | Broken torsion spring | Spring replacement |
| Look | Frayed or slack cable | Cable at end of life, or a spring is failing | Cable and often spring work |
| Balance (visit) | Door is heavy on one side or will not hold | Weak or broken springs, or cable issue | Spring and cable service |
| Balance (visit) | Door rises on its own | Overwound or oversized spring | Spring adjustment or replacement |
| Reverse | Door pushes through the board | Force setting or reversing mechanism failing | Opener repair |
| Reverse | Door reverses only a few inches | Reverse limit misadjusted or failing | Opener repair |
| Sensor | Door closes through a broken beam | Sensor fault, wiring or opener logic | Opener repair or replacement |
If your test finds any of these, stop using the opener and call us. Running a door that keeps failing a check is how a bad result turns into damaged hardware or an injury.
Keeping a simple log
A door goes bad slowly, and the month a spring finally breaks does not look much different from the month before unless you can compare. A single index card taped inside a kitchen cabinet is enough: the date, the four results as pass or fail, and any note about a sound or a sight that caught your attention.
A pattern where the reversal test takes a hair longer to trip each time, or the opener starts straining in cold weather, tells you the door is heading for a professional safety inspection before the next season.
For a wider look at how a door's age plays into all this, see our post on openers in older homes. If your log is showing changes in cold weather, see checking springs before winter.