
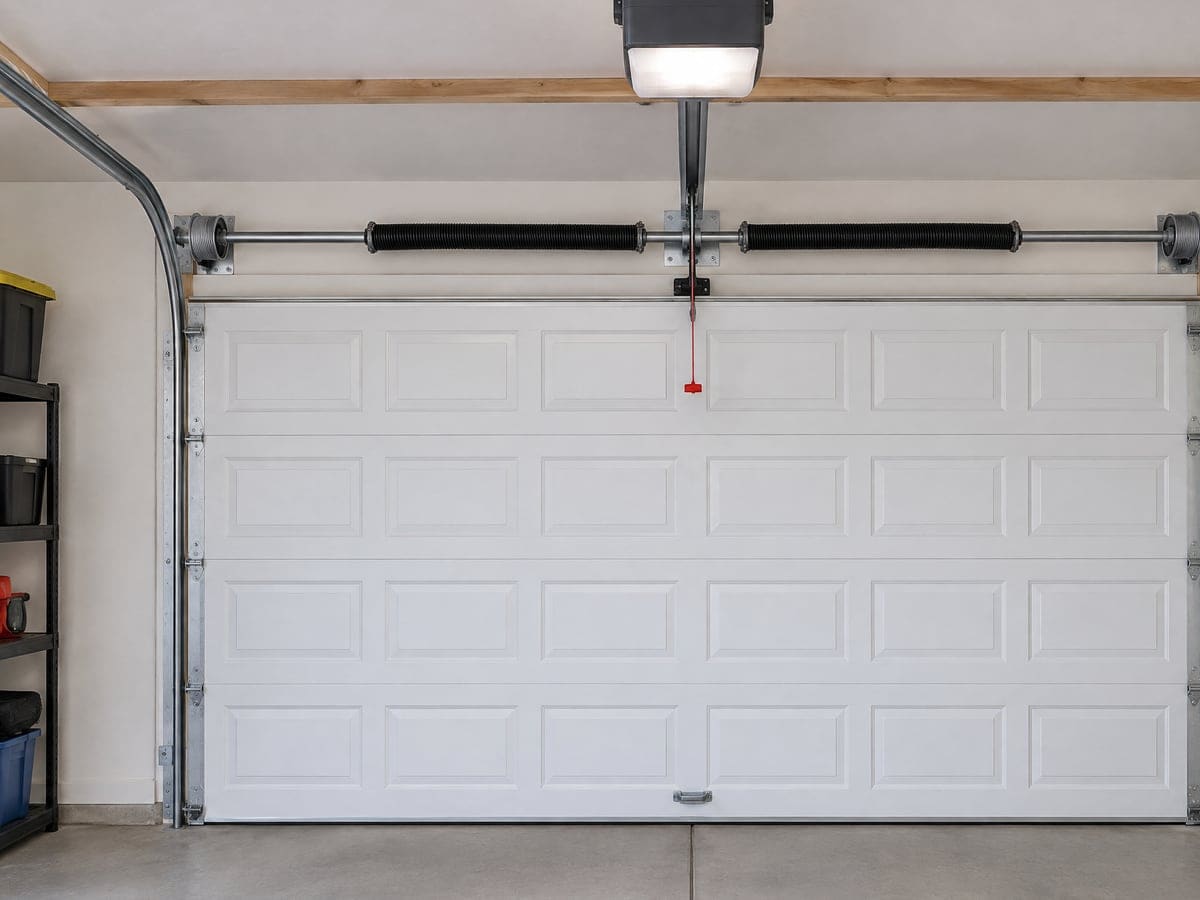
What kind of opener suits your garage?
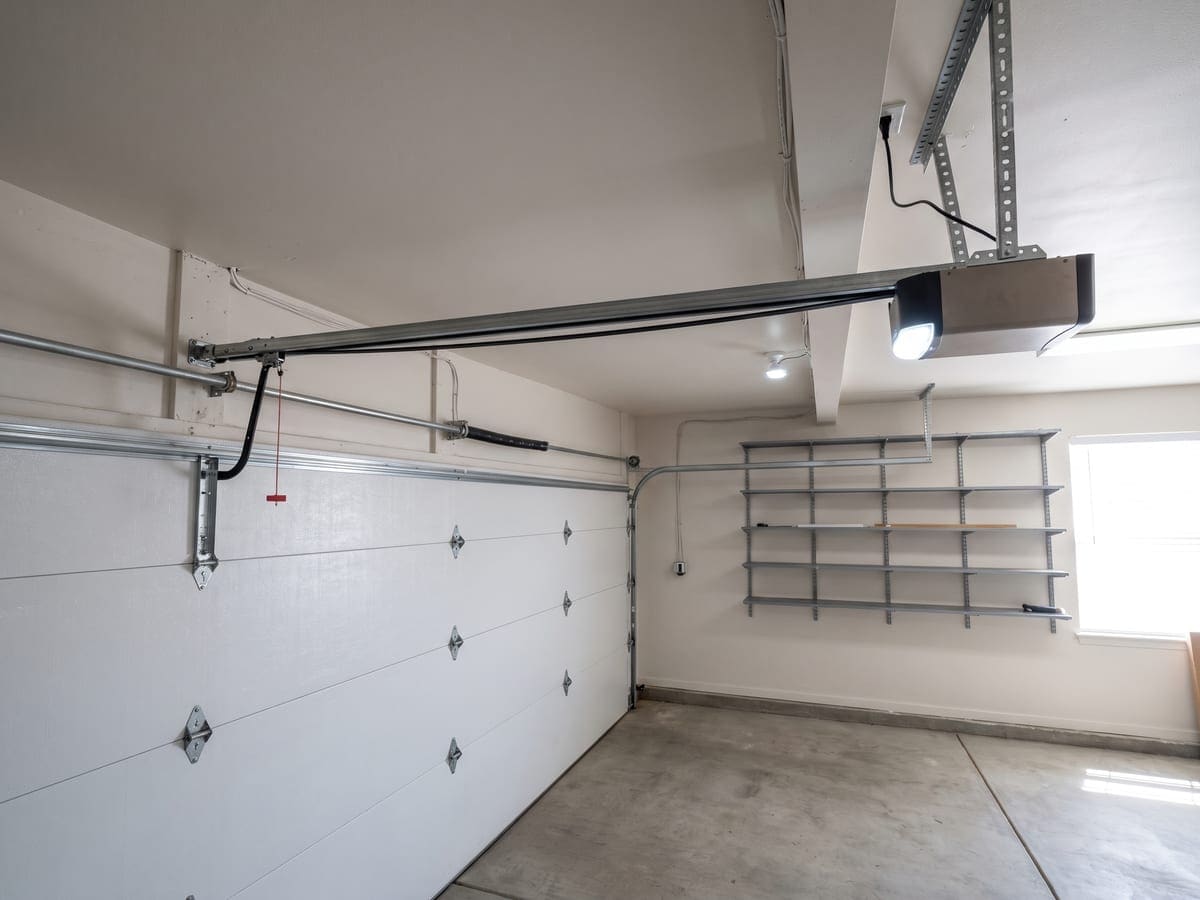
The garage itself, whether there is a room over it, whether the power stays on, and how you want to open the door decide the pick.
Four kinds of opener
Each drive moves the trolley a different way, and the garage above the door picks the fit.
Chain drive
- A steel chain pulls the trolley along a rail
- Metal on metal, with a loud run
Belt drive
- A steel-reinforced rubber belt does the same work quietly
- A quiet pick for a garage under a bedroom
Screw drive
- A threaded rod turns and moves the trolley along its length
- Fewer moving parts than a chain or belt setup
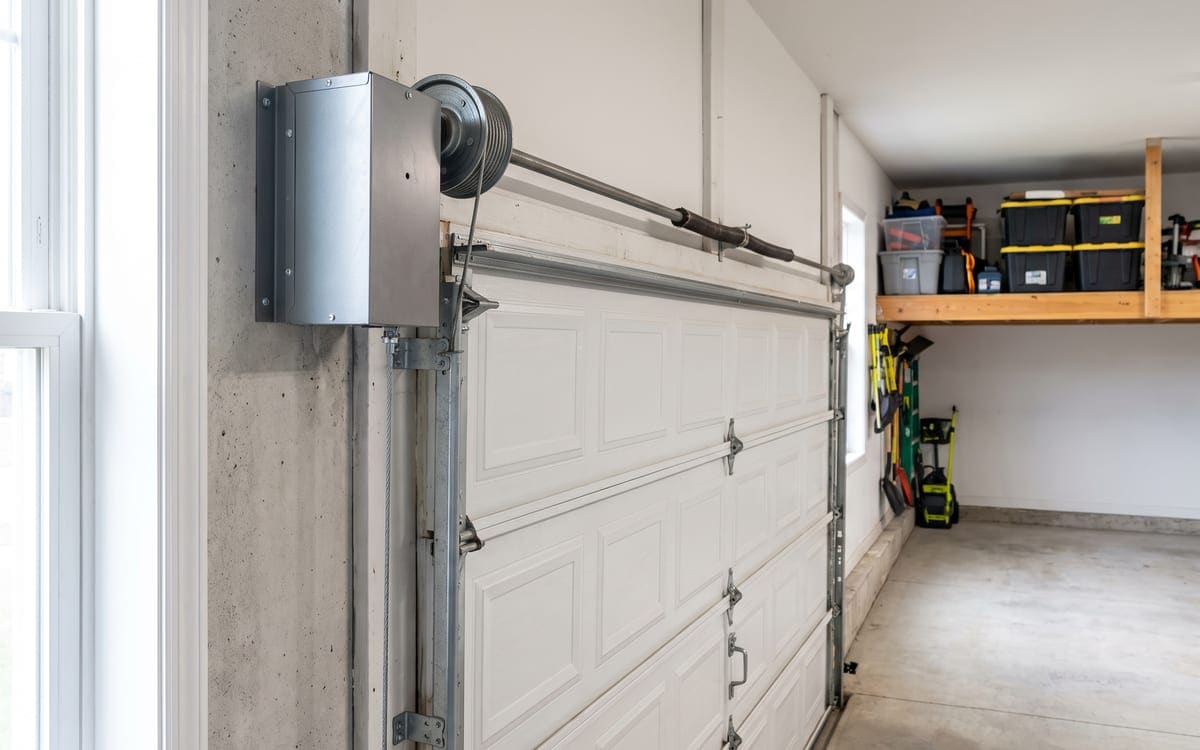
Wall-mount
- The motor bolts beside the torsion shaft and clears the ceiling
- A fit for low headroom and only with torsion springs
Chain drive
A steel chain pulls the trolley along a rail overhead. Durable and inexpensive, and also the loudest of the four. Chain is a fine pick for a detached shop; on an attached garage with a bedroom above, it is often too loud.
Belt drive
A steel-reinforced rubber belt does the same work as a chain, quietly. Belt drives cost a bit more, and they are a frequent pick where a bedroom sits above the garage.
Screw drive
A threaded rod turns and moves the trolley along its length. Fewer moving parts, though the range of current models has narrowed, and later parts can be hard to source.
Wall-mount (also called jackshaft)
The motor bolts to the wall beside the torsion shaft and turns the shaft directly, leaving the ceiling clear. It is the pick for low-headroom garages, garages with a car lift, and rooms above where quiet matters most. Wall-mounts only fit doors set up with torsion springs, not extension springs.
Extras worth understanding
Battery backup, a sealed cell inside the head, runs the door during a power cut; it ships built-in on some current models and as an add-on module on others. Smart control adds a radio inside the head so a phone can open, close and check the door. Rolling code, which every current opener uses, cycles the signal between the remote and the head on every press, so a scanner in the alley cannot record and play it back.
| What you want | What to look at |
|---|---|
| A quiet garage below a bedroom or a home office | Belt drive, or a wall-mount if the door hardware allows it |
| Low headroom above the door, or a car lift bolted to the joists | Wall-mount |
| A heavy insulated or solid wood door | A stronger motor rating and a drive type matched to the door weight |
| The door still working when the power drops | Battery backup, factory or add-on |
| Opening and checking the door from a phone | A model with the radio inside the head |
| A detached shop where noise is fine | Chain drive |
If the door itself is near the end of its life, a new door and opener together is often the better spend. If the door is sound but a spring has gone, springs that need fixing first get corrected before the opener goes up. If your current head has one clear fault, we say so and point you to repairing the opener you have instead.
When we keep an opener, and when we suggest a new one
A younger head with working safety sensors and one part at fault is worth repairing. A gear kit, a logic board, a photo eye pair or a trolley is a smaller job than a full swap.
Replacement makes sense when the housing is older than the sensors it uses, when parts for that model are gone, when the head strains on a properly balanced door, or when the same faults keep coming back. It is also the cleaner call during a bigger change on the door itself: heavier insulated panels, a taller door, or a switch to a jackshaft setup.
What an install includes
A typical install includes the head with its motor and logic board, a new rail sized to the door, two safety sensors and their brackets, a wall control unit with fresh low-voltage wire, and remotes or a keypad. Moving from a chain to a belt, or from a standard rail to a wall-mount, changes the mounting hardware that comes with it.
On the day itself
1. Balance and spring check on the door
Before anything comes off the ceiling, our technician disconnects the trolley and lifts the door by hand to see whether it stays put at waist and shoulder height. A door that is heavy by hand, or drops back on its own, has springs that need attention first, and we say so before the new head goes up.
2. Taking down the old head and rail
Power comes off at the outlet. Wires come off the wall control and sensors. The head, rail and old header bracket come down together.
3. Mounting the header bracket and rail
The new header bracket goes into solid framing above the door, sighted to the center of the opening. The rail hangs level and square from angle iron or drop brackets fastened into the ceiling joists.
4. Wiring the wall control and sensors
Low-voltage wire runs from the head to the wall button by the entry door, and down each vertical track to the safety sensors near the floor. Frayed old runs get pulled and replaced with fresh wire.
Where the safety sensors sit
Two small photo eyes mount low on each vertical track, facing each other across the opening so the beam breaks the moment something crosses the doorway.
- Photo-eye on the left track
- Photo-eye on the right track aimed at the one across the opening
- Infrared beam between the two sensors the closing door breaks the beam if a pet or a bag is in the way
- Vertical track
- The door, up overhead
5. Setting travel and force
The head has to learn the fully open and fully closed positions, and how much force is normal for that door. Both get set so the door closes without slamming, stops at the floor, and reverses if it meets something on the way down.
6. The two safety tests
A two-by-four laid flat on the floor gets used for the contact reversal test: the door must touch the wood and reverse. Next, our technician blocks the sensor beam while the door is closing, and the door must reverse. The contact reversal is one you can repeat on your own at the start of each month, which the monthly safety test walks through.
7. Programming remotes, keypad and car buttons
Two remotes, a keypad if you asked for one, and the opener button built into the car get paired to the new head before we leave. Any phone app that came with the opener gets set up too.
A call, a look at the door, and the price
On the phone, describe your current opener: what it is doing, roughly how old it is, whether it strains, whether the door moves unevenly or a spring coil shows a gap, and what you want out of a new one. Door size and material, ceiling height, whether the garage is attached, whether there is a bedroom above, and how often the power drops on your block all shape the pick.
At the door, our technician runs the balance check and looks over the springs, cables and rollers. If any of that needs work first, we say so before any new opener goes up. The install itself proceeds on your word, and Illinois law requires a written contract or work order stating the total cost, including parts and materials, and the contractor's business name and address1 before work over the state threshold.
Older Arlington Heights garages and new openers
Roughly two of every three housing units here went up before 1980.2 Framing dries out and a header can settle out of square over the decades, and older attached garages often have less ceiling clearance than a standard opener rail assumes. We measure the headroom and check the header before choosing a rail or a wall-mount, so the hardware fits what is actually above the door. Moving off a head that predates safety sensors is a real safety upgrade on its own.
Winters here get cold. Chicago's normal January mean sits at 25.2 degrees F,3 and cold snaps run below that. The monthly safety test catches a reversal that has started to drift.